

This past winter, I volunteered at a local school with a group of children who wanted to learn to quilt. This energizing class project engaged more than 20 youngsters (ages 10-11 years), taught fundamental sewing skills, and encouraged creativity.
If you are interested in working with a group of children to teach them how to quilt here are some basic directions to get you on your way. Also included are an extremely important hand out, How to Use a Sewing Machine, and a helpful mini-project, How to Make a Mug Rug, which helps the kids understand the piecing process.
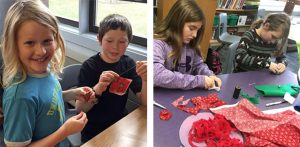
The class started to learn to sew by hand sewing felt. They were shown how to thread a needle, tie a knot on their thread and make stitches. They made felt ornaments. The imagination of the students was incredible. Many fun embellishments were provided. We spent time going over sewing fundamentals – simply learning ‘right sides together’ took a while because the concept is different than gluing coloured paper together. My advice is take time to explain ideas and ask questions to make sure kids understand what you are trying to teach them. Visual aids are helpful.
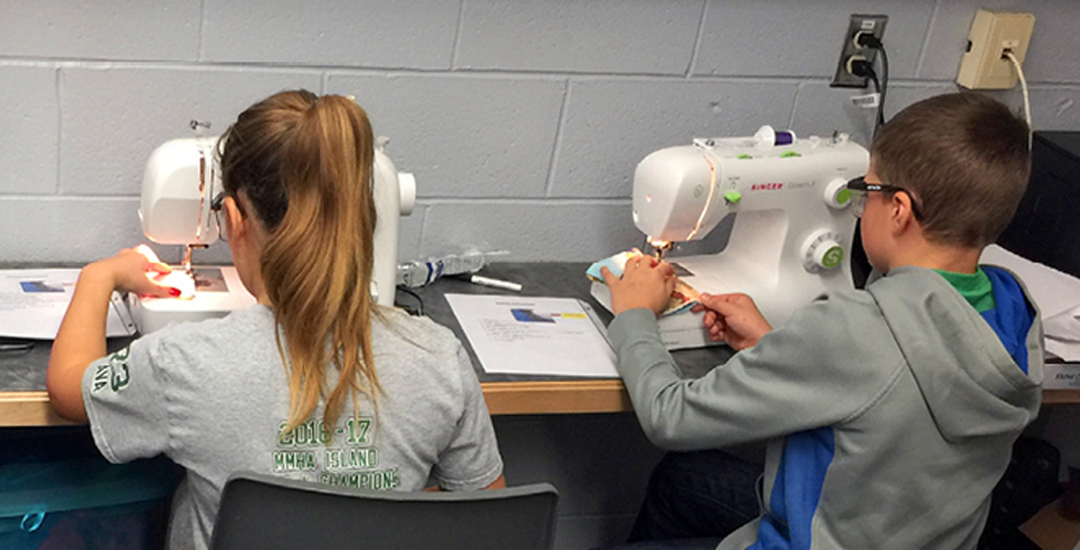
On to the sewing machine. A lot of time – and I mean a lot – was spent learning how to use the machine. I included a How To Use a Sewing Machine handout of instructions, that outlined a series of steps for the kids to review as soon as they sat down at the machine. What happens with no instructions? If the kids forgot to put the presser foot down, they made a thread nest! I taught them to turn the hand wheel in order to get the needle down into the fabric and back up, thus doing one stitch… or else they (and I) were constantly rethreading. Do not ask how well I know this!
A great way to teach children about the sewing machine is to have them practice stitching on cardstock or thick paper to get the feel of the sewing machine and learn the mechanics. After practice, the first item they sewed on the machine was two pieces of fabric together. We followed this lesson by building a mug rug.
When it was time to make a quilt block a variety of fabrics were made available. The children had to use one particular print at least once in their block to make a theme within the quilt. I also
handed out a sheet of plain paper measuring 8.5″ x 11″. Their blocks were to be slightly larger than the sheet of paper after assembly so the paper gave the children something to visually plan their layout and constantly check the size of their block with.
It is a good reminder to have the children lay out the pieces they plan to sew beforehand so they learn how to build a block, i.e. by sewing two pieces then trimming, adding another piece, etc. Always have the children check the size to make sure it is bigger than the piece of paper.
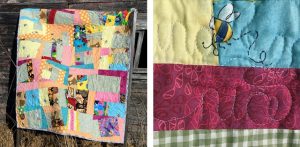
Once they finished their blocks I sandwiched and quilted the quilt for them; however, I explained the process to the class. While quilting the piece, I stitched words throughout the quilt; they had to find all of the words when the finished quilt was returned to the classroom.
A huge thank you H.A. Kidd for sponsoring many of the supplies!
- good, sharp, large, fabric scissors by Infiniti
- hand needles from Unique Sewing
- felt pieces by Kunin
- ribbon for felt ornaments by Elan
- thread
- assorted fabrics.
