

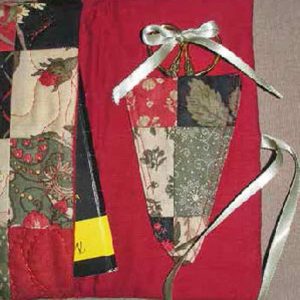
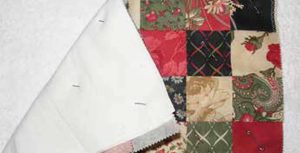
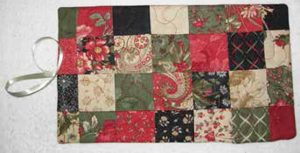
This charming project is handy for carrying scissors and needles while journeying from home to quilt guild or travelling afar. Finished size: 8″ x 7″.
Supplies
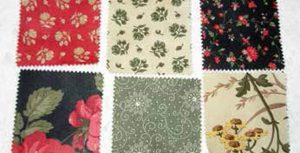
28 – 2½” squares fabric (main case): various colours*
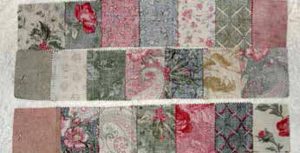
6 – 2½” squares fabric (scissor pocket): various colours*
8″ x 15″ lining fabric
5″ x 7″ lining fabric
8″ x 13″ batting
8″ x 13″ muslin (or plain cotton)
28″ ribbon (¼”)
button
* Simplified project: fabric measuring 8″ x 14″ for the main case and 4″ x 6″ for the scissor pocket case may be substituted for the 2½” squares of fabric.
Main Case Piecing
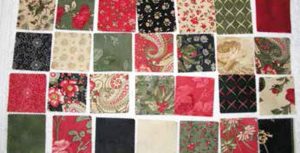
1. Set out 2½” squares, four rows by seven rows in a pleasing arrangement. Sew first row together using a consistent ¼” seam allowance.
2. When first row is stitched, iron seams in one direction.
3. When ironing seam allowances, alternate direction of each row so seams butt together when rows are stitched together. Some quilters may find pinning helps match seams.
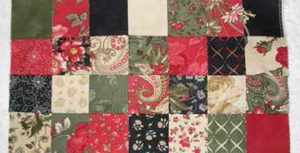
5. Once all squares are stitched into rectangle, press front and back.
Quilting
6. Make a quilt sandwich with the 28-square rectangle (right side up), batting in middle and muslin on the bottom (wrong side toward batting).
7. Quilt together as desired, by hand or machine. Trim quilted rectangle to 7½” x 12½”.
Scissor Pocket
8. Sew scissor pocket using six remaining 2½” squares, two rows by three rows in a pleasing arrangement, following steps one to six under Main Case Piecing.
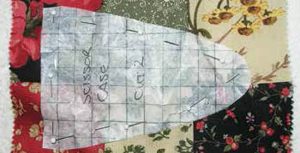
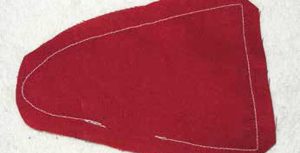
9. Lay scissor pocket pattern piece on small, pieced rectangle; cut pattern out. Lay scissor pocket pattern on 5″ x 7″ piece of lining; cut pattern out.
Assembly
11. Using placement pattern, pin scissor pocket to right side of lining.
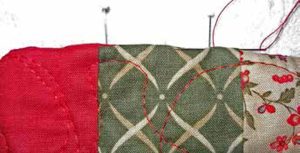
12. Stitch scissor pocket onto lining close to edge, leaving open at top (for scissors to go into!). Repeat second row of stitching just inside first row. Cut ribbon 16″ long. Position above opening of scissor pocket. Stitch in place firmly (may need double stitching). This ribbon is used to tie scissors once they are placed into the scissors pocket. Tuck this ribbon into scissor pocket for remainder of assembly (so as to not accidentally stitch).

13. Using remaining ribbon (12″ long), fold in half, pin in place with short edges together in centre of short side of lining (closest to the scissor pocket). Pin right sides of quilted main case to lining (make sure ribbon is tucked inside between layers). Mark 1″ to 1½” opening along long side of rectangle with pins. Starting at one pin, use ¼” seam allowance to stitch all around edges to second pin. Carefully trim, turn right side out and press.
14. Hand stitch opening closed using slip stitch.
15. Fold case in thirds (lining facing inward). Slip stitch two sides to make rectangle pocket for needles. Sew button on centre back of case to loop ribbon around. Check ribbon meets button before stitching in place.
Enjoy!
