

Confession: I never made a quilt with diamonds. I figured that kind of quilt would only be made by those who had at least 50 years of quilting experience under their belt. I could not figure out how quilters got such perfect diamonds or how they sewed the diamonds together to have everything match. It was almost like magic.
Then the Sew Easy half diamond ruler landed in my sewing room. I admit I stared at the ruler for a long time. I noted it has clear red lines for all the different measurements and bright black numbers marking each. It is long enough to make a diamond measuring 8″ wide by 14″ long. The measurements on the ruler are half what the diamond will be as you cut on the fold. Finally – when no one was looking – I folded some fabric in half, lined the ruler up on the fold line and cut.
Next thing I knew, there was a perfect fabric diamond sitting on my cutting table, looking absolutely divine and wanting a few friends. I quickly gathered a bunch more fabric, folded it, used the same measurement mark on the ruler and cut nine more. Oh boy, this was insane. Now there were ten sparkling diamonds ready to be turned into a quilt.
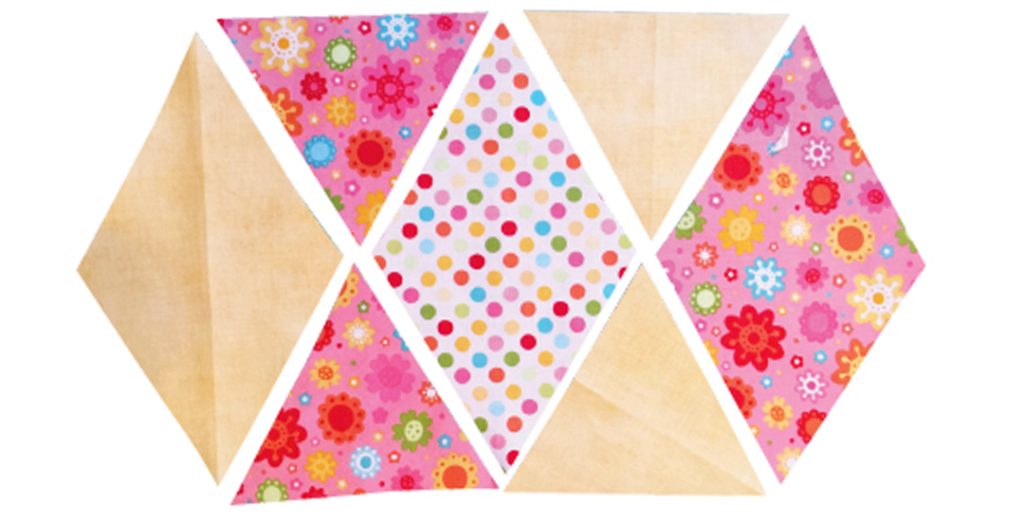
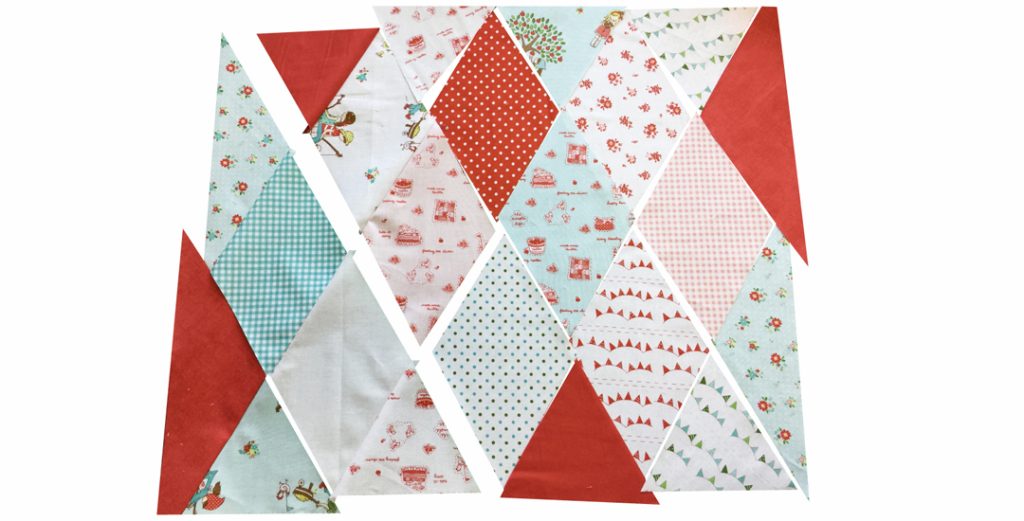
I ran to my design wall and started placing the diamonds. I realized I could, literally, spend days rearranging diamonds into all sorts of fun patterns. I went with three across for the first row, four across for the second and three across for the third row.
I noticed there were spaces in the quilt for half-diamonds, which needed to be filled. How does that work? After minimal attempts, I realized the following: to make the vertical half diamonds needed for the sides, I simply added a 1/4″ to the diamond measurement I was using and cut that diamond in half, vertically. To make the top and bottom half-diamonds, I cut one diamond in half, made a template adding a 1/4″ onto one edge and used that to make my half-diamonds for the top and bottom of my quilt.
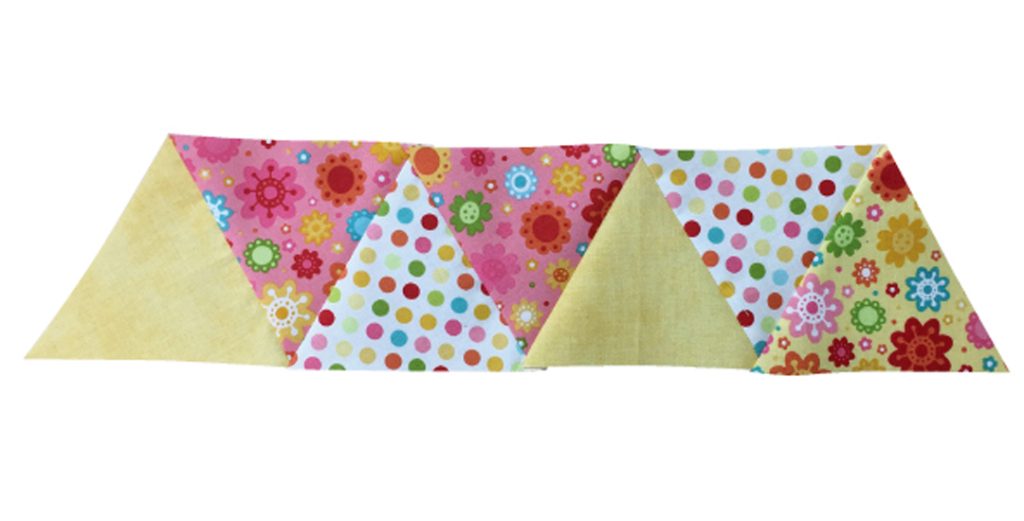
To ensure lines and points matched while sewing diamonds together, I simply laid the diamonds right sides together, stuck a pin close to where the 1/4″ seam should be when I started sewing and flipped the fabric back to ensure everything was lined up. If it wasn’t lined up, I would readjust and sew. It was that simple!
The half diamond ruler is all I needed to make a beautiful diamond quilt! One can create, literally, hundreds of unique patterns using the tips above -table runners, wall hangings, baby quilts and bed quilts. But don’t stop there; layer small diamonds on top of large diamonds (as in my pattern) and create a fun new effect on a quilt.
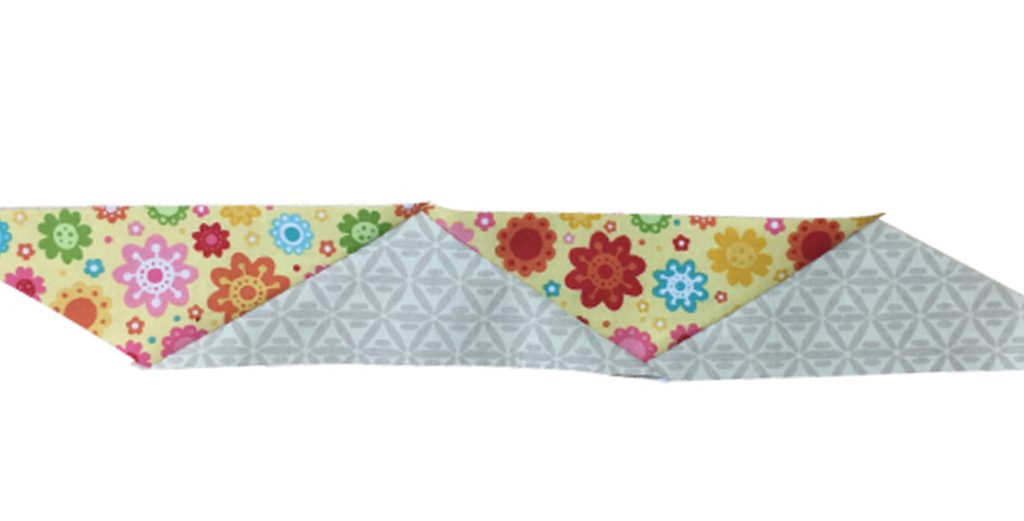
The ruler can also be used to create some amazing half diamond quilts. Cut out diamonds, cut them in half along the vertical and make unique creations that could work as their own quilt, border or landscape. Try cutting the diamonds in half on the horizontal axis and make fabulous, equilateral triangles to play with.
If you really want to have fun, play with diamonds and half-diamonds together! Whatever you decide, new and exciting ideas about how to use this ruler will only grow.
