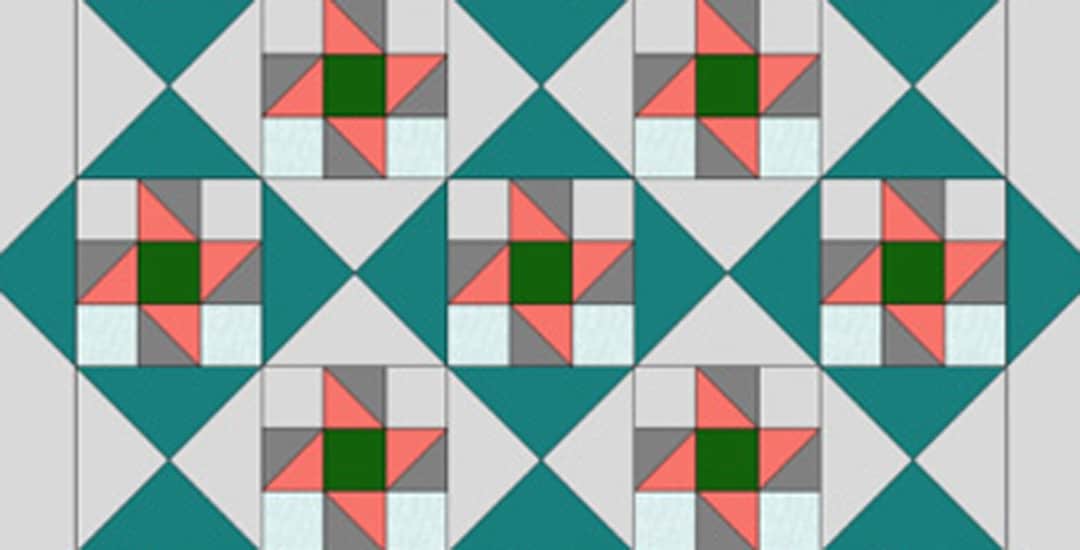
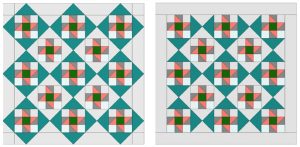
Which of these two quilts is a better design?
Before elaborating on this question, let’s look at what other Electric Quilt 8® (EQ8®) designers use this program for! It is no longer simply about quilt designs.
EQ8 owners, or EQ8ers, find this software a veritable Swiss Army Knife on the computer! Yes, you can design quilts with EQ8 – quilts with embroidery, photos, pieced blocks, foundation-pieced blocks and appliqué – and you can add quilting designs and print labels on fabric to add to the back of the quilt. Plus, users teach other quilters to use the program, develop tutorials and videos on aspects of it and sell patterns based on program designs. These days, EQ8ers are becoming super-users creating unique applications within the program’s capabilities!
For example, did you know EQ8® can do desktop publishing? A quilt show poster is a quick task: choose New Quilt from the top menu, then Custom Set from the ribbon below.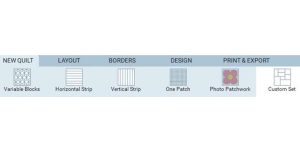 By clicking Layout, a designer may choose the custom size of the quilt (aka poster). The next step – choose any images or photos to Layer 1 of the piece.
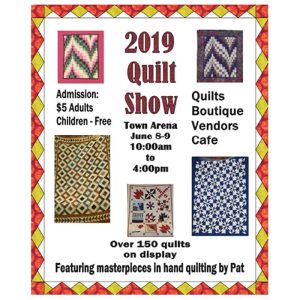
TIP: Initially, images should all be placed in an easy-to-find folder on your computer or tablet. The first step is to navigate to the Libraries menu and select Photo Library. Choosing this option will open the main Photo Library menu. It is necessary to use the bottom Import button and select from Image Files. Find the folder of images on your computer, then select the image or images needed. Once all the images are in the Sketchbook, select Photo Tools under the Design tab. All the photos in the sketchbook will be shown and may be added to the piece.
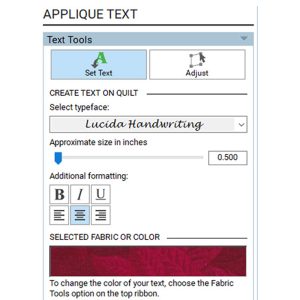
Text is the next tool to use in the design process. To add text, it is necessary to navigate to Layer 2 select the Text Tool. Choosing Set Text shows more options. The text menu allows a designer to choose any font available on the computer, then use the slider to adjust the size. The Adjust tool is useful to resize any text box.
Another use for the Custom Set quilt layout is to design a card – possibly to give with a quilted gift. To make a card from a regular size of cardstock paper, choose a layout 7″ wide by 5″ high. Import a photo of the quilted gift or other suitable photo and Adjust to fit the worktable. Choose the Print option. In order for the image to print correctly on the bottom section of the cardstock, select Print Setup from the Print menu and type a Top print margin of 5.5″.
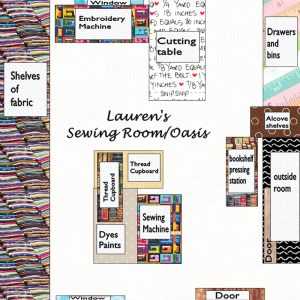
There are other diverse uses for EQ8® which can help a quilter! EQ8ers use the Block Worktable to design an appliqué block to solve sewing room layouts. Lauren used a 12″ x 12″ layout to figure out her 12′ x 12′ room. She created rectangles the size of the furniture and now has a room easy to navigate that holds all of her tools and fabrics.
When a Facebook discussion of EQ8 uses came up it was intriguing to see everyone’s creativity: store posters, greeting cards, pattern covers, a tile floor, room and garden layouts and graphics for software. What other uses have you discovered for EQ8? Lauren would love to hear!
Special Border Design Solutions
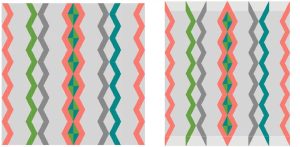
Aside from the non-quilting uses for EQ8, another benefit of the program is the ability to add border designs, which make a quilt pop. This use of the program relates back to the two quilts shown at the beginning of this article. The quilt shown on the left seems to need an extra design element.
In EQ8, a designer may choose to match cutting directions to a quilter’s capabilities. There are many other quilt designs that can be improved with a unique EQ8 border. Adding a border to the top and bottom of the quilt on the left adds interesting design elements, shown on the right.
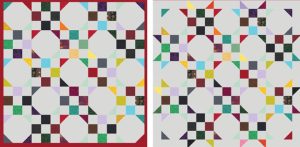
Here are two additional scrappy quilt designs which use snowball and nine-patch blocks. The design on the right has half square triangle blocks placed strategically in the borders which improves the overall appearance of the quilt.
Where does Electric Quilt take you?
Add your ideas to this mix by emailing Lauren.

