At the 2025 National Juried Show, I answered many questions about how Habitat Merry-Go-Round was made: the thickened dye, close trimming and the screen background. Now, I’ll spill the beans on all the gory details of the trials and tribulations behind its creation. That includes taking a pair of scissors to it before winning Excellence in Innovation.
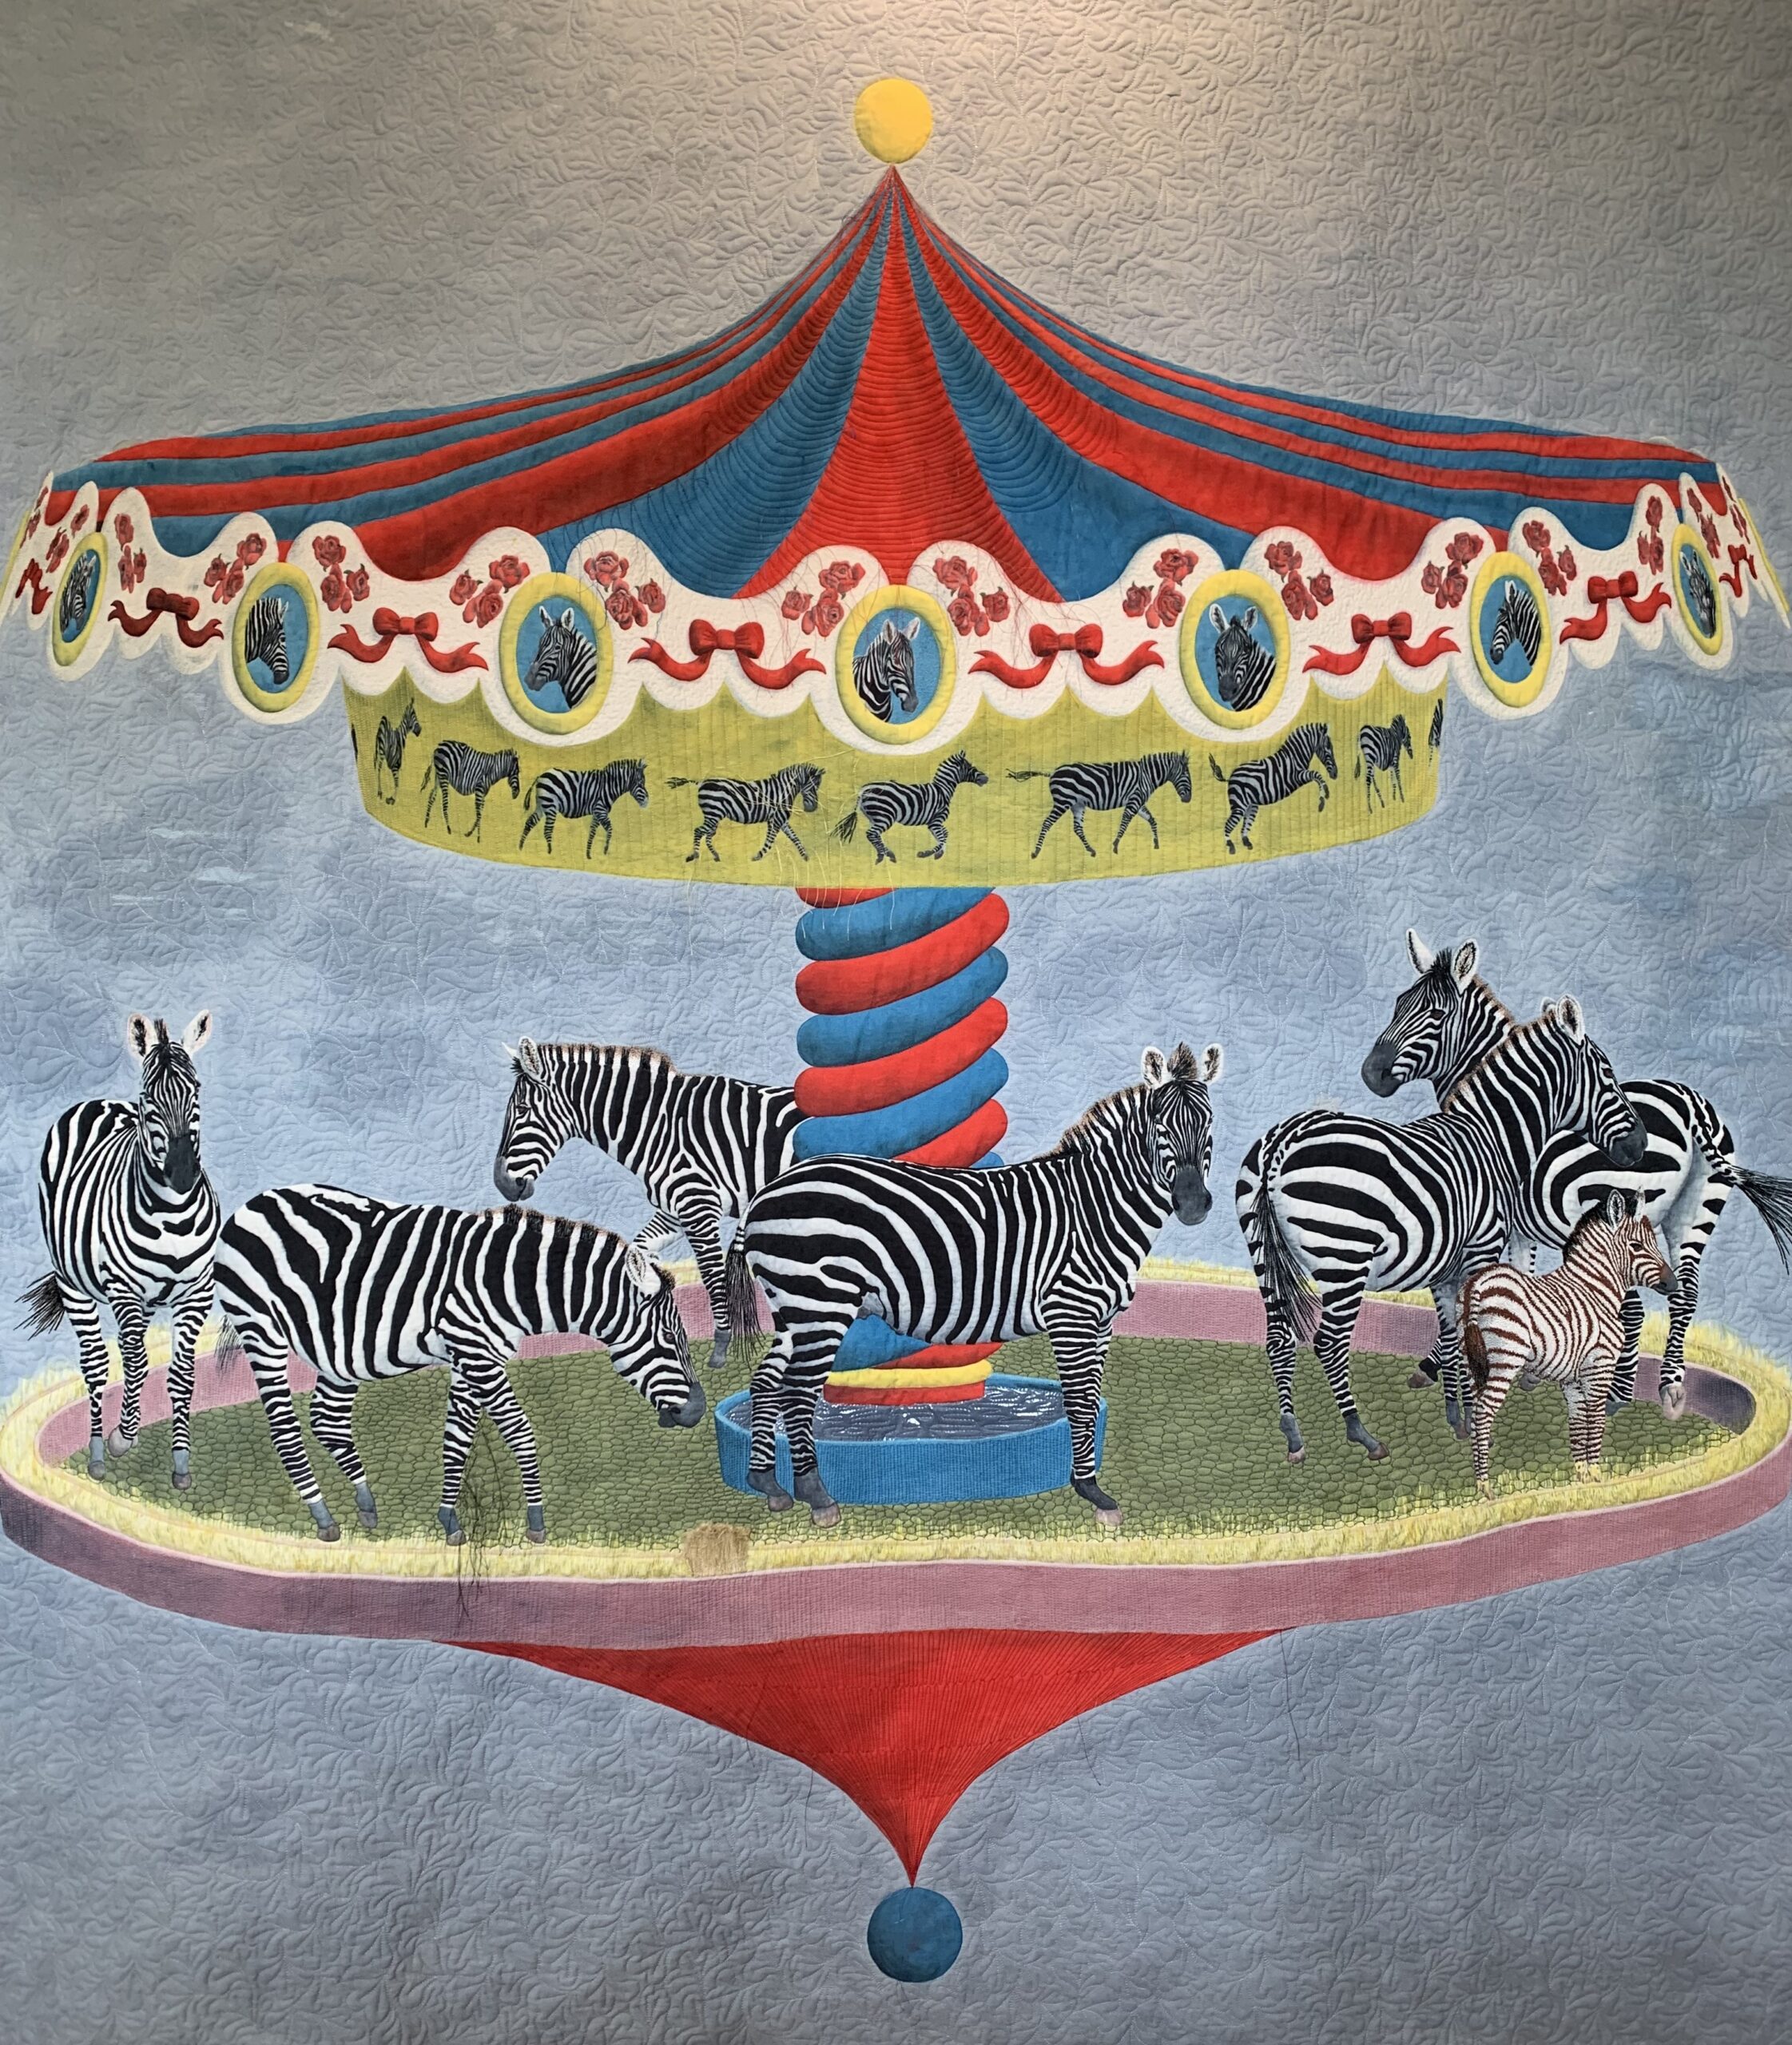
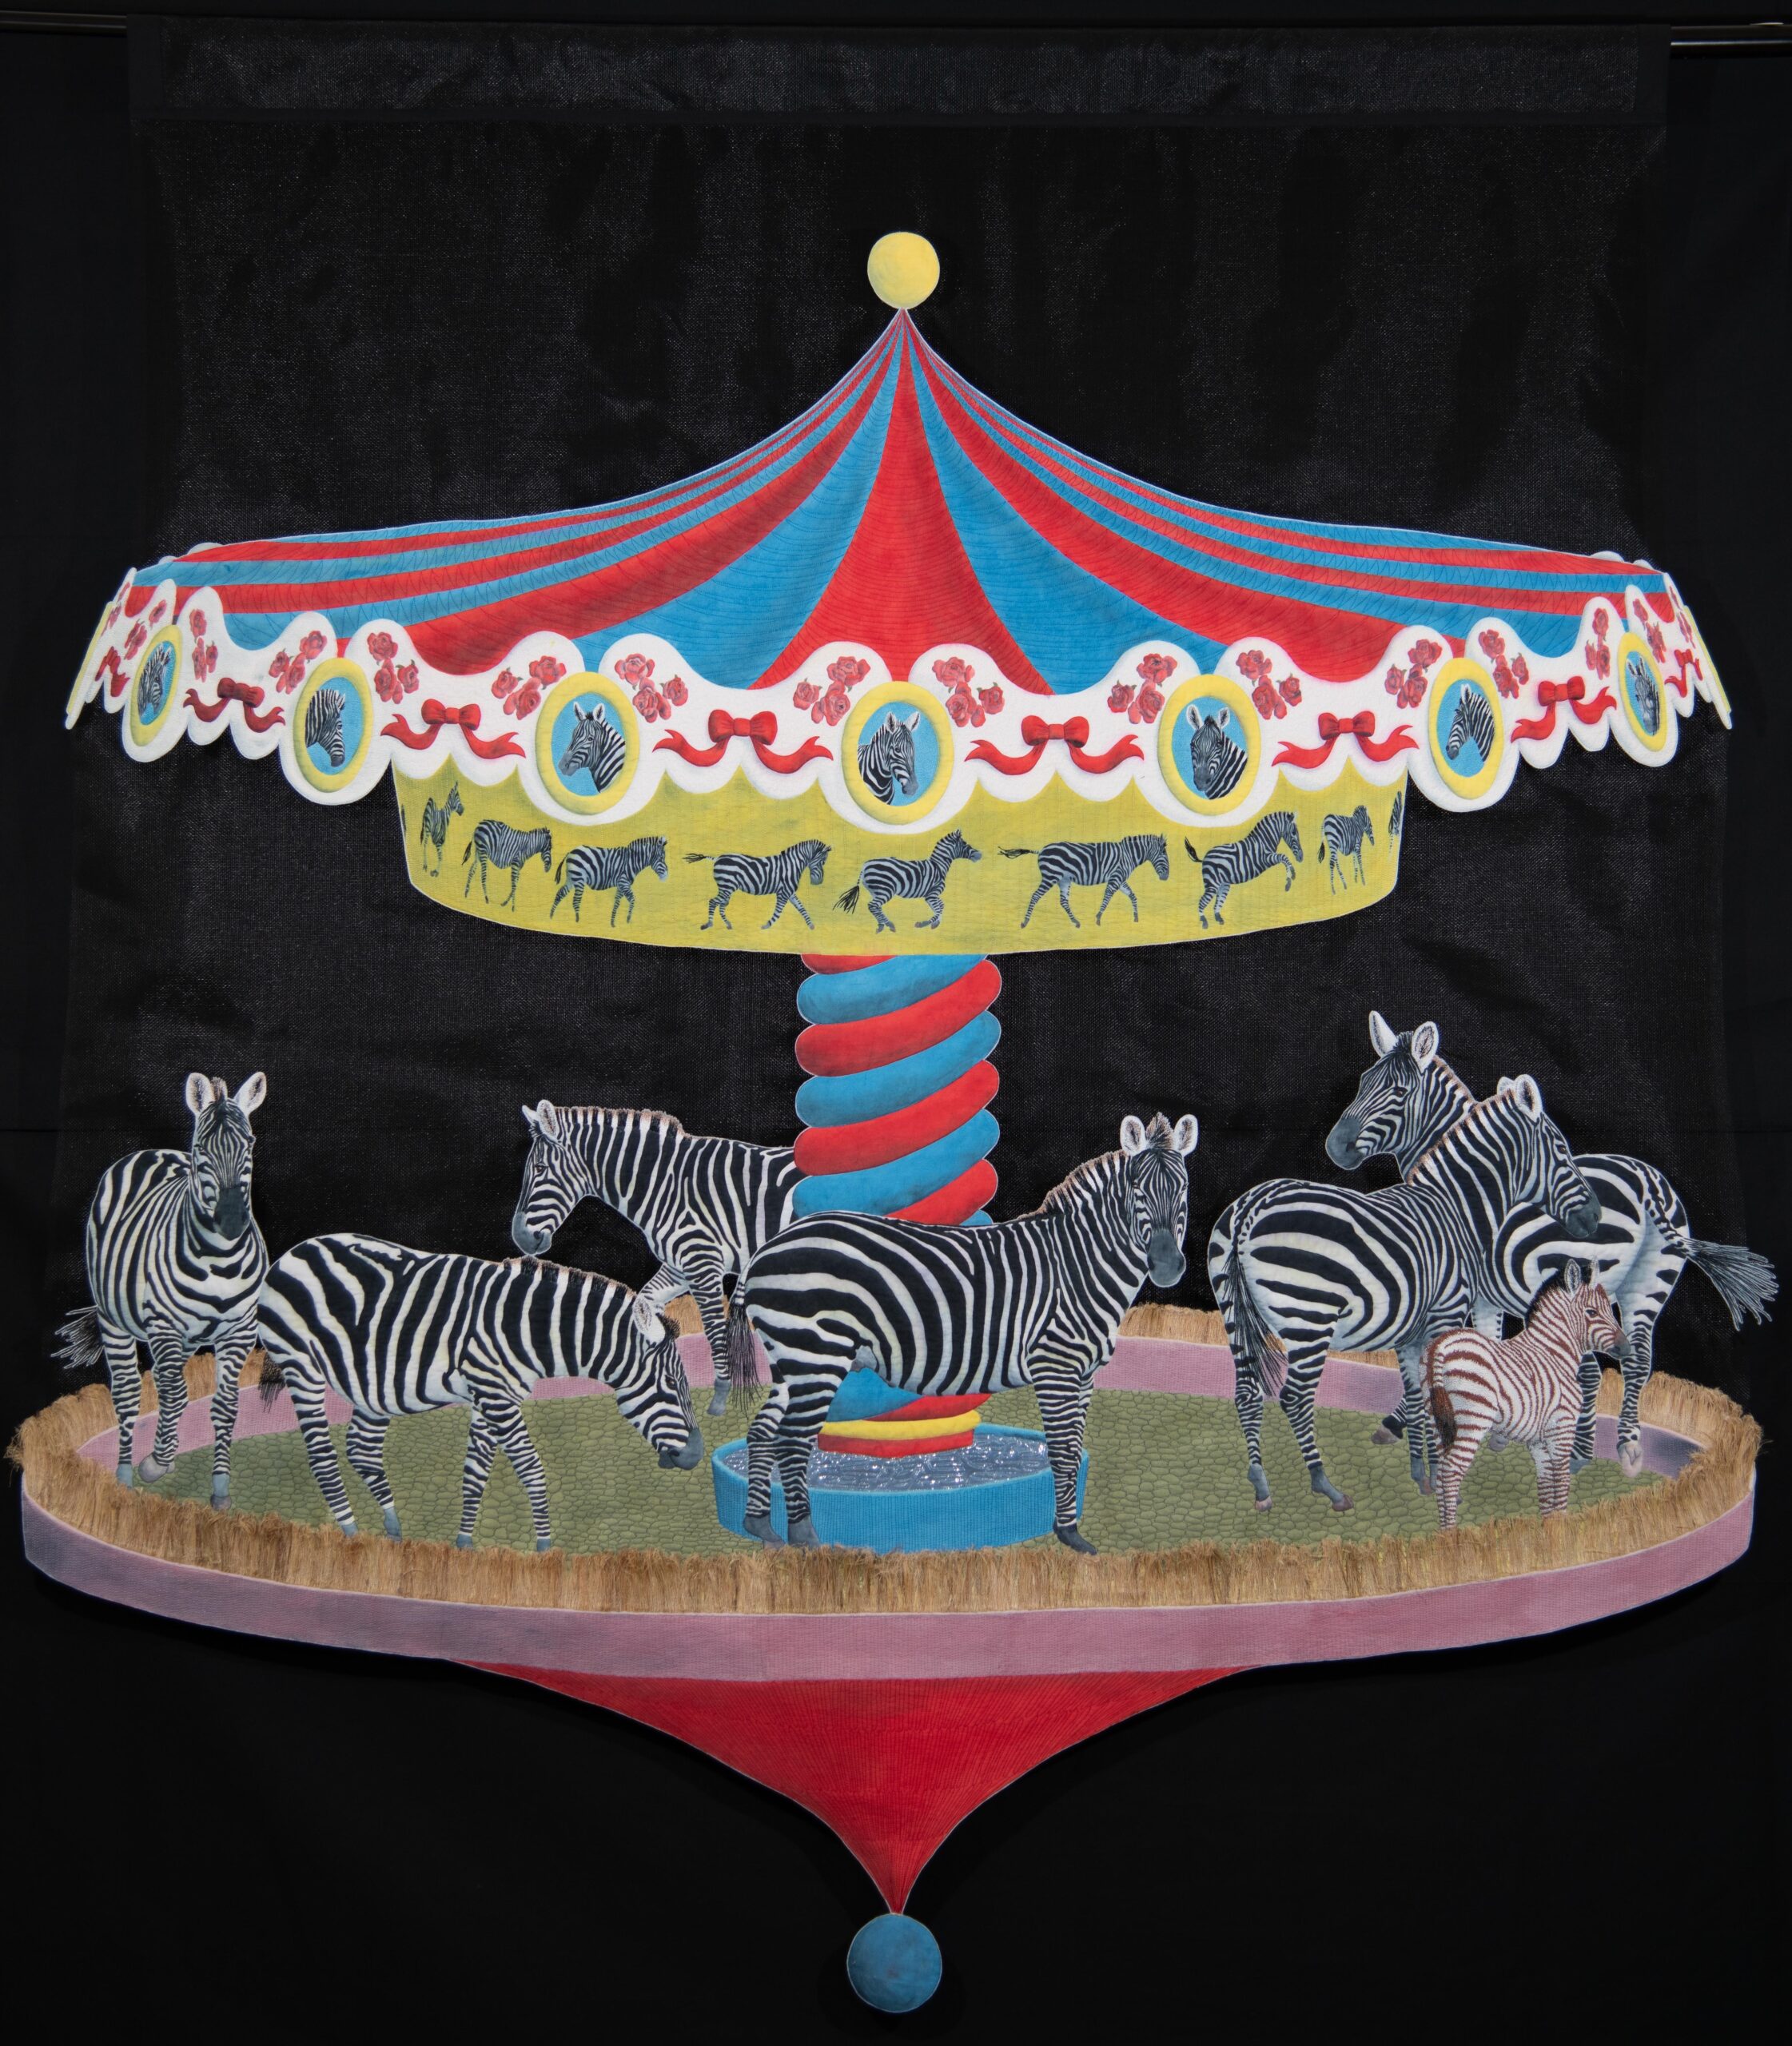
At first glance, Habitat Merry-Go-Round looks like a lovely carousel with pretty zebras instead of horses. But when you look closely, you will notice the zebras live on this tiny space. It seems like they have everything they need, but they have no way off this absurdly small and controlled habitat.
The quilt started with a lot of pencil sketches. For each segment of the base and top, I worked out its angles by using trigonometry. Then I projected the image onto the wall to draft the full-sized version. I then traced some of my many zebra photos and moved them and the carousel decorations around until the placement looked good.
Next, I used coloured pencils to transfer this complicated design onto my white fabric treated with soda ash. From there began the slow process of applying thickened dye to these images with a fine paintbrush.
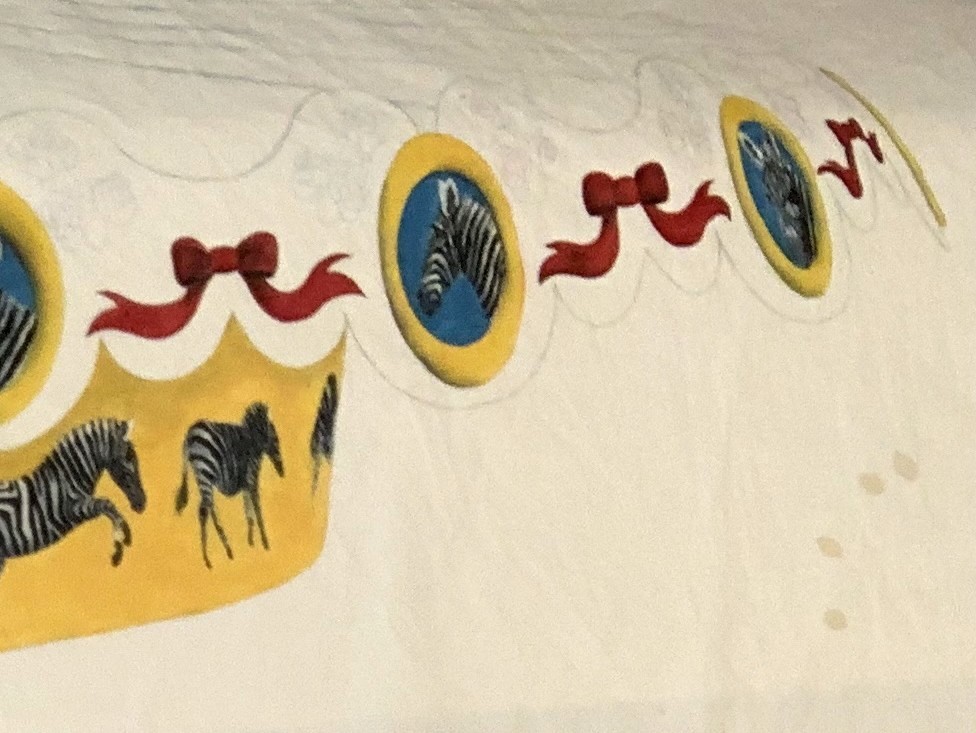
It was all going so nicely until – WHOOPS! – a badly placed cup of tea spilled onto the undyed white background.

But not to worry; I had a plan: finish applying the dye and leave the background undyed for the moment. Surely the tea would come out in the wash and I could re-treat the fabric and proceed.
Well, as you might have guessed, the tea stain did not come out, even when I dyed the background a greyish blue. By the time, the dye painting was complete, I also had a few badly placed spots of black dye on the background.
Time for a cover-up! I don’t like adding fabric paint over dye-painted images, as it creates a texture that isn’t nice to quilt. But in this case, I had no alternative.
By the time I put the paints away, the small areas that needed correction had grown to cover significant areas of the blue background, particularly in the critical area between the carousel base and roof.
It was starting to feel like a Marx Brothers movie where a tiny mistake just multiplied with every attempt at fixing it.
At this point, it seemed there was nothing more to be done with paints, so I did what any delusional quilter would do – I quilted it in the hope that the stitching could cover up the ghastly blue paint splotches.

But of course, it didn’t!
Somehow, I still really liked the quilt or at least liked its foreground. But those blue splotches were haunting me. While other people might say that it was the sort of thing only the maker would notice, this defect seemed visible from space.
So, the piece sat for some time rolled up in the closet, awaiting a flash of brilliance.
Making drastic cuts
After a great deal of thought, it occurred to me that no process could make my background an even colour. But I could create a hazy, all-over white mist to obfuscate the splotches, using fabric spray paint. That was the plan, anyway.
I spent the best part of two days painstakingly masking the foreground of the quilt with fussy cut tape and paper. Then, I hung it in the laundry room and taped newspaper to the walls and floor. Next, I then carefully applied little puffs of white paint to the blue surface.
Let’s just say that this was not a good time to learn two things about spray fabric paint:
- After several sprays, the hole gets gummed up and it comes out unevenly.
- It adheres very differently to fabric compared to paint.
Now, the areas that had been previously painted over just looked more glaringly obvious.
At this point, the background of the piece was ruined, but I still liked the foreground as much as before. Miraculously, there was no stray white paint on the main design.
Obviously, the only real solution to this problem was going to involve scissors.

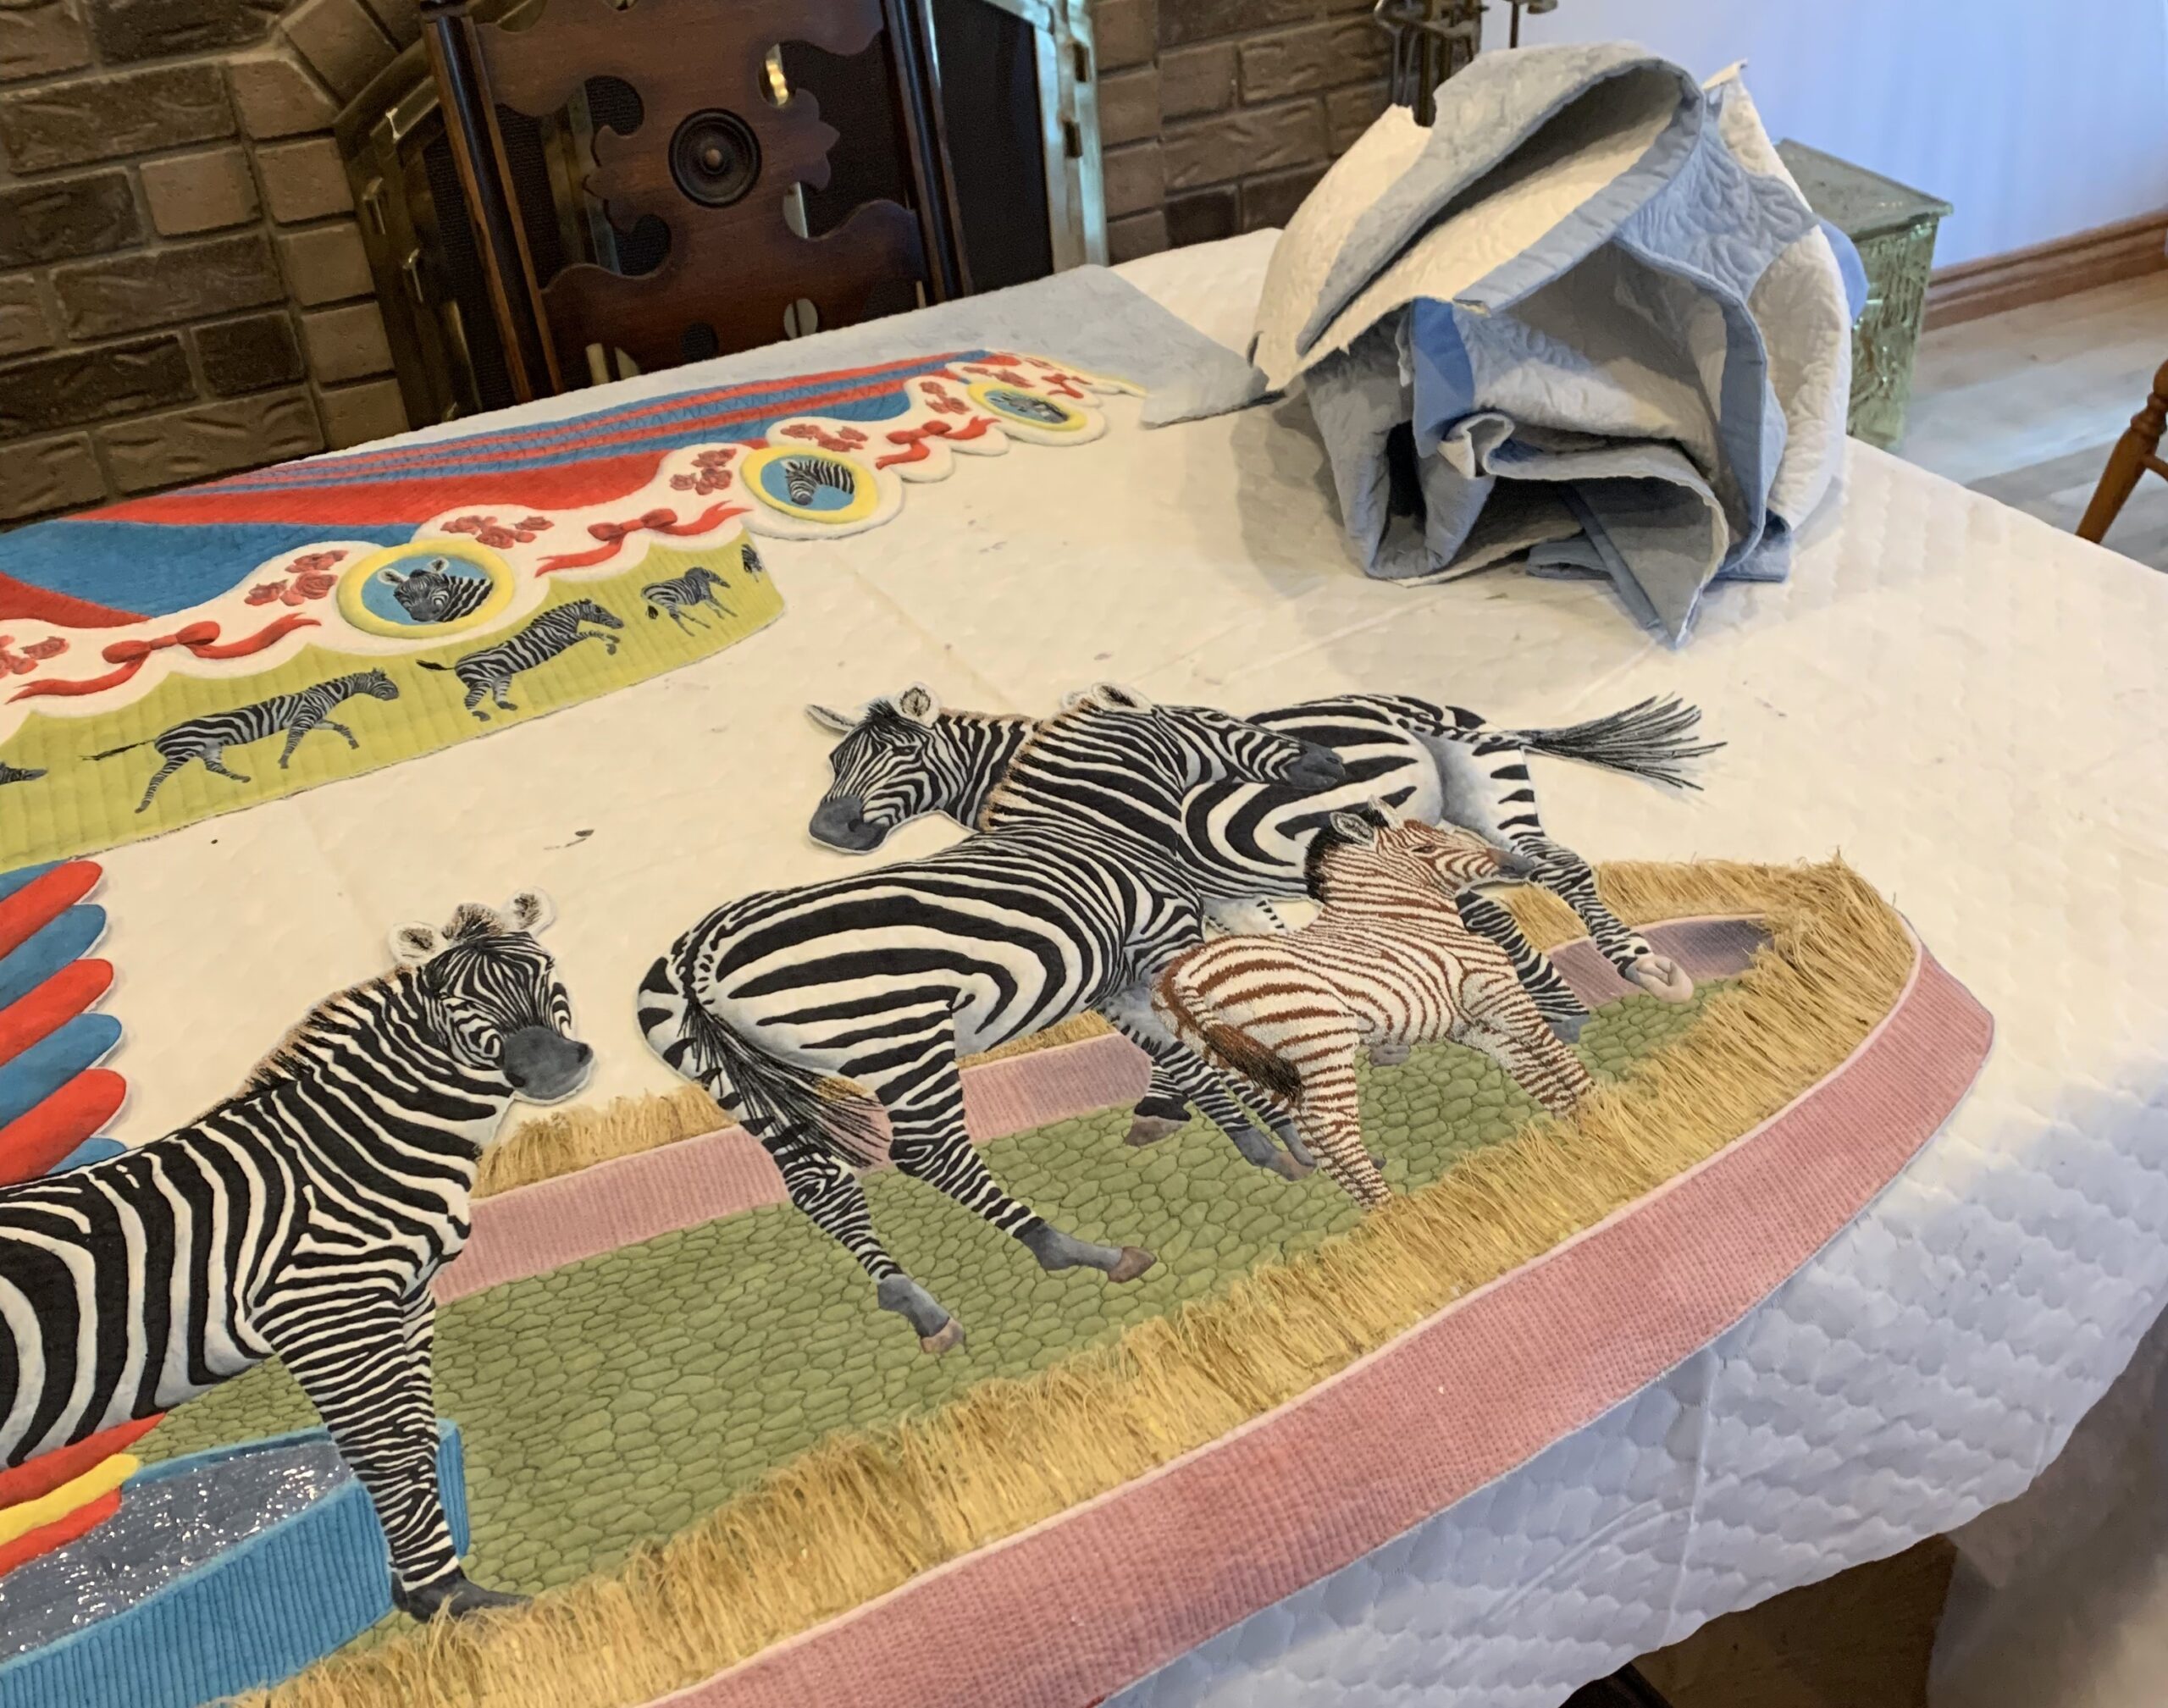
Using my sharpest shears, I trimmed all around the carousel and zebras, about 2 mm from the stitching line. I finished the edge with matte medium so that the fabric wouldn’t fray.
Voila, I had a highly irregular quilt that would not hang nicely on a wall. It needed something to hold it together.
I had recently mounted small quilt pieces on tulle, which this seemed like a good solution for my zebras. I hand-basted three lengths of water soluble stabilizer to a large piece of dark grey tulle then hand basted my quilt to that background, carefully lining everything up so that it would hang straight. Then, I machine stitched the quilt onto that background.
When I dissolved the stabilizer with warm water, the top right of the carousel was distorted. Clearly, the tulle just wasn’t up to the task of holding it in place.
More scissors!
The machine stitching was much too difficult to see against the tulle, so I had to cut it away rather than go at it with a seam ripper. The good news here was that the quilt did look pretty good with the airy background and it would especially look good against a black draping.
A friend suggested I mount the quilt on a piece of durable window screening. This time, I sewed the carousel and zebras onto the backing by hand using invisible MonoPoly thread.
It finally worked!
I left a few inches of screening at the top to give a little breathing room between the main image and the hanging sleeve by folding the screening over on itself.
Many visitors to Quilt Canada commented about how they like the floaty look of the piece with the black screening melting into the pipe-and-drape behind. And I smiled as if I had planned it that way all along.
Sue Sherman is a national and international award-winning quilt artist living in Newmarket, Ontario. Her fabric creations connect her to the spectacular places and wildlife she has seen in her travels around the world. She is an active member, speaker and instructor with the Canadian Quilters Association / Association Canadienne de la Courtepointe.


