How to create a design wall for your sewing room!
With a few very good supplies, my husband was able to create a terrific 6 x 6-foot foam board wall in my sewing room! It is strong, light, doesn’t move, and hangs by a simple system attached to the wall at the top. This could be made for a much larger space, but it fits perfectly in mine. I thought I’d share the plans and pictures, as it has helped me tremendously!
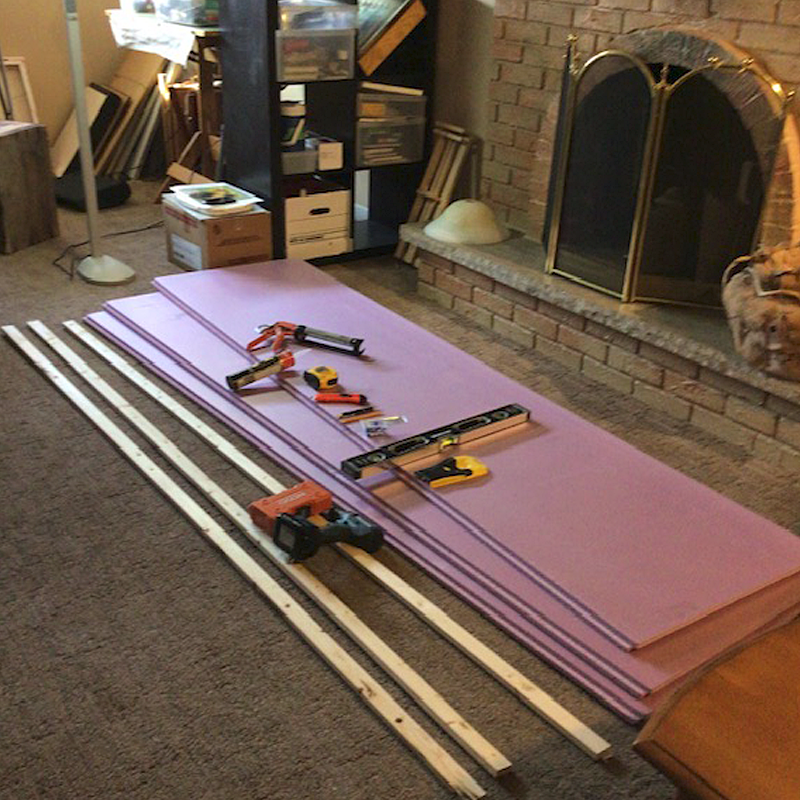
Supplies (from Home Depot)
- 1-inch-thick x 8 feet long thick pink R-5 Foamboard, 3 pieces
- 1-inch-thick x 2-inch-thick x 8-foot-long pine board strips, 3 pieces
- 2 containers of LePage’s 296 ml “3 X Stronger PL Premium” construction adhesive, no substitute
- 4 plastic anchors with wood screw, to attach strip to wall at the top
Supplies (flannel)
- 4 yards of flannel sheeting, either plain or gridded (purchased at “Old Country Store”, USA)
- Pins for attaching flannel sheet
Tools
- Tape measure, a level, cordless drill, saw or electric saw, exacto knife, pen, pencil, stud finder, weights (anything heavy like piles of books)
- Area on the floor for construction
Directions (for 6’x6’ size)
Joining the boards together
- Measure and cut 2 feet off the end of each of the insulation boards
- Cut strapping pieces just under 6 feet by 1 inch
- Lay strapping on the floor, to elevate the boards
- Cut the tip of the tube of construction adhesive off (so hole is 1/8 of an inch), poke in hole to open
- Lay the first board on the strapping and glue the foam lip on one side, then fit the second sheet of foam into the lip to lock flat.
- Do this again for the third sheet, joining it to the second sheet lip, so that you have three pieces joined together on the long ends. On the last sheet, trim off the last lip so foam has no protruding lips.
- Put piles of books on the seams, and let dry overnight. Cap the adhesive.
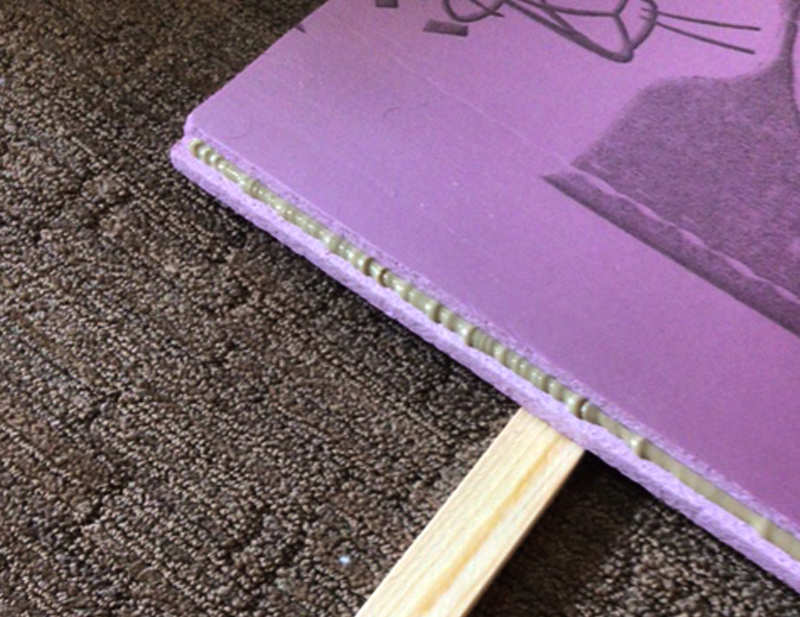
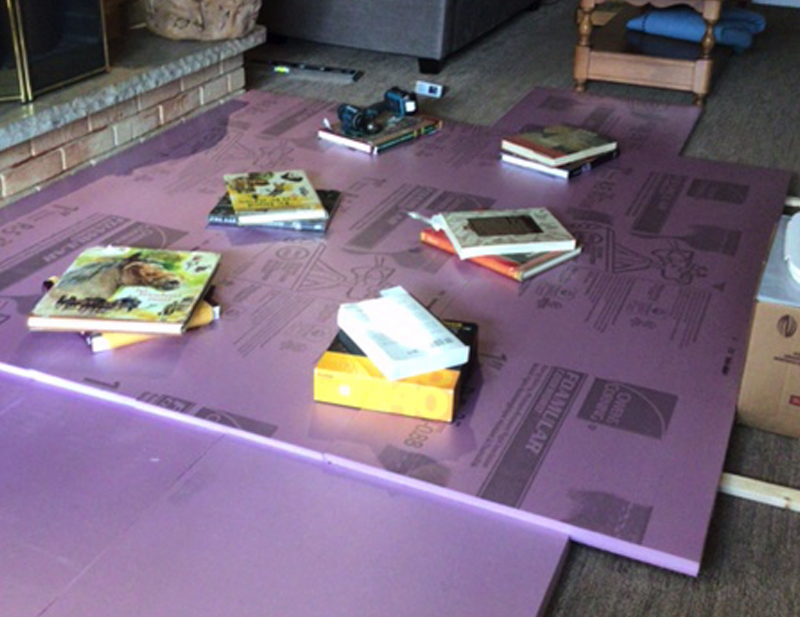
Adding Strapping boards to the foam
- Carefully turn large foam board over, to the flattest side.
- Measure where you want the strapping to be placed: one on top, one in the middle, one near the bottom, approximately four inches from top, and four inches from bottom of the foam board.
- Use scribe with a pen on the foamboard, where the three pieces of wood should be placed.
- It is essential that the top be straight, otherwise your piece will hang crooked on the wall.
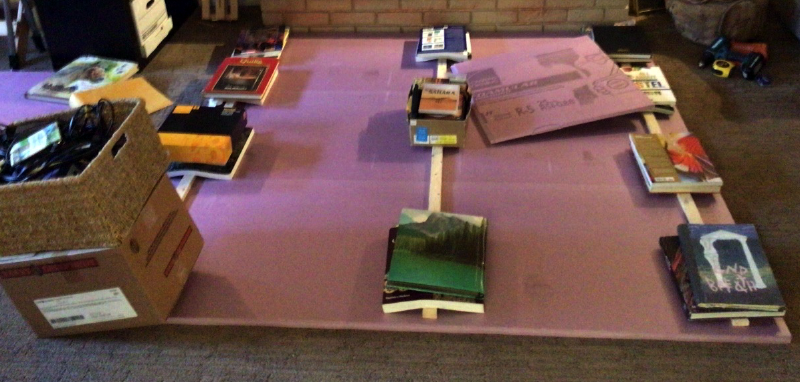
- Lift strapping pieces one by one, adding adhesive in a long bead along the wood, lay carefully down on the line that you made on the foam. See the small piece of leftover foam piece below? Great for a smaller pinboard!
- Weight the strapping to the foamboard using piles of books, and leave overnight to dry.
Attach Flannel
- Cut the four yards of flannel in half, and sew down the middle; iron.
- From the top centre of the foam board, pin the flannel across the top.
- Carefully stretch the flannel taught on either side, pinning at 2” intervals all the way down to the bottom of the foam.
Hanging the flannel covered foam board onto the wall
- With the two feet of strapping remaining from the 8-foot length, find an area in your sewing room where the board will hang.
- Take note of any outlets and switches, so you don’t cover them.
- Measure from the top of the ceiling down to where you want the board to be attached.
- Use a level to ensure wood pieces are level on the wall.
- Pre-drill holes in the wooden strapping and the wall, two per piece of wood will be fine. These wood pieces hang from the top only.
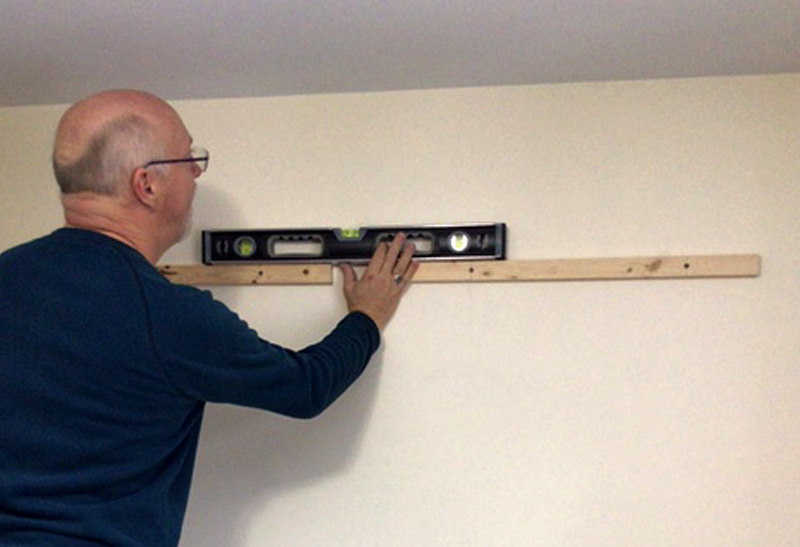
- Screw into plastic anchors using the pre-drilled holes.
- In the picture below, my husband is lifting the foam board with the wood, to let it “rest” on the boards on the wall. The wood at the top of the foam sheet “hangs” off the wood attached to the wall. This is before the flannel is attached. It is much easier to attach the flannel first, before it is put up on the wall.
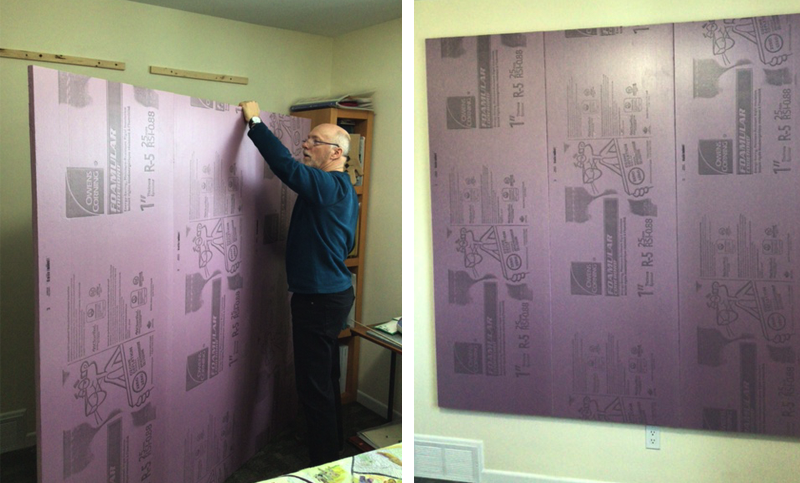
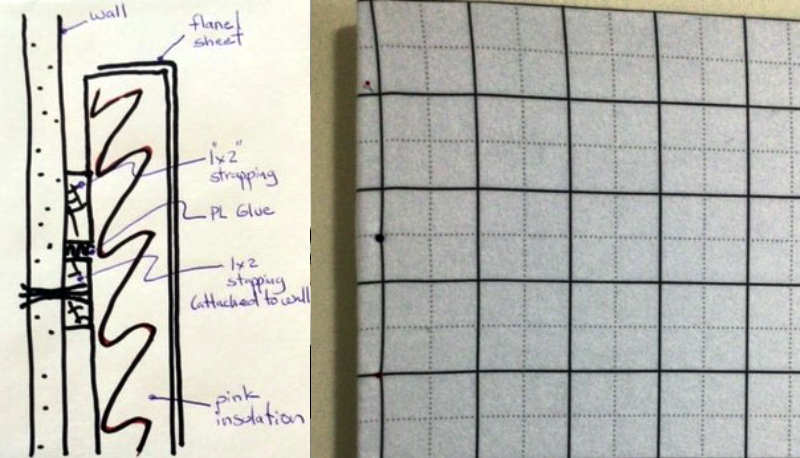
- The closeup below shows the flannel attached with pins. To attach the flannel at the top, I used a bead of adhesive along the top of the foam board, and laid the flannel across the top using a line right at the edge of the flannel. This worked nicely!
- Just before hanging it for the last time, we ran a bead of adhesive on the boards attached to the wall, and then we hung the board up! Here is the finished board!
- The solid lines are 2” grid, and the dotted lines are 1” grid.
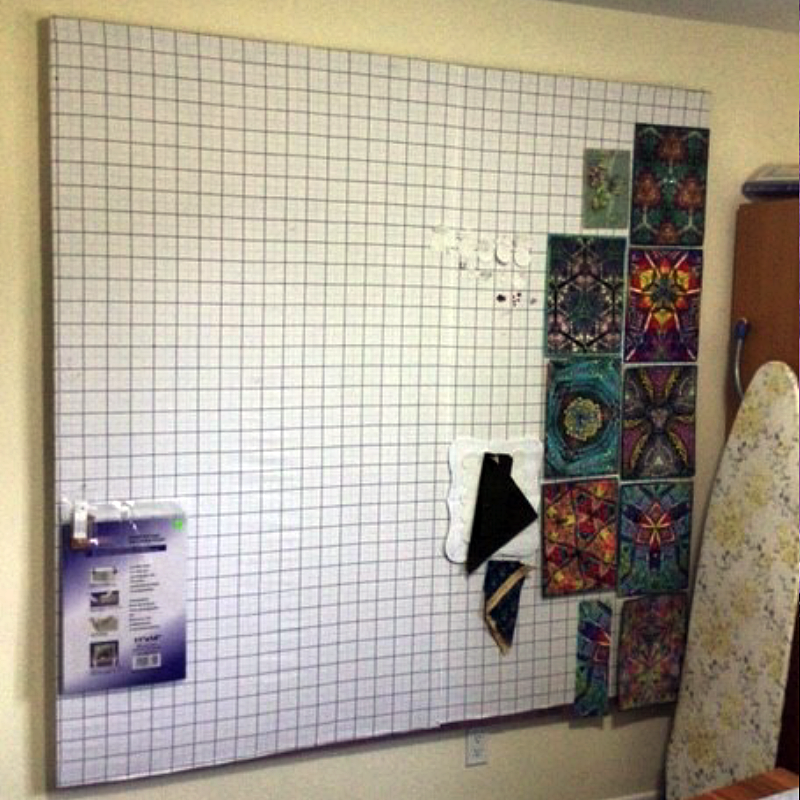
I hope you enjoy making this design board! There are a few smaller, leftover pieces that are great for making smaller boards. These can be used for blocking and steaming wall hangings prior to trimming and binding, or for keeping track of smaller pieces when you take them places like a retreat.
Sandy Simmelink is a fibre artist and teacher, and an award-winning quilter. Learn more about her work and follow her blog at: www.sandysimmelink.com


